How to Design Outdoor Living Spaces in Oak
Creating a space that draws you outside, invites you to slow down, and enhances the way you live at home is no longer simply a luxury. Today, thoughtfully designed outdoor living spaces are becoming an essential part of modern living, offering a seamless connection between home and garden.
When crafted in oak, these spaces take on a different quality altogether. They feel grounded, enduring and entirely in keeping with their surroundings. Whether you are exploring outdoor living space ideas in the UK countryside or refining a more contemporary garden setting in the suburbs, oak provides a natural foundation for truly timeless design.
What Constitutes an Outdoor Living Space?

At its simplest, an outdoor living space is any area designed to extend how you live beyond the walls of your home. For some, this may be a carefully arranged seating area that catches the evening sun. For others, it may be a covered dining space, a sheltered entertaining area, or a fully enclosed garden room used throughout the year.
The scope is wide. Outdoor living spaces can include:
- Open patios and garden seating areas
- Covered outdoor living spaces such as pergolas and gazebos
- Multi-use structures like carports or garages with additional lifestyle uses
- Fully enclosed garden rooms and extensions
The key is intention. A well-designed outdoor living space is not simply placed. It is considered, integrated and tailored to how you want to live.
Deciding What You Want from an Outdoor Living Space
Before exploring design ideas, it is important to define what your outdoor living space needs to achieve. Start with how you want to use it. Is it somewhere to entertain guests, enjoy quiet mornings, or create additional room for hobbies or work? Do you want a seasonal space, or something you can use throughout the year?
From there, consider:
- Level of shelter: open, partially covered or fully enclosed
- Frequency of use: occasional summer evenings or daily use year-round
- Practical features: lighting, heating, storage or privacy
- Budget: from simple, cost-effective designs to fully bespoke outdoor living spaces
- Integration with your home: ensuring the design complements the main property’s architecture
There is no single “best outdoor living space.” The right design simply fits your lifestyle, your property and your long-term plans.
Fully and Partially Open Outdoor Living Space Ideas
Open-Air Garden Seating

At the most accessible end of outdoor living space design is a simple, open-air arrangement. Garden furniture, outdoor dining sets, fire pits and informal patios can create inviting areas for relaxation and entertaining with minimal structural work. These are often the starting point for those exploring outdoor living spaces on a budget.
Advantages:
- Cost-effective and quick to implement
- Flexible and easy to adapt
- Minimal planning considerations
Considerations:
- Exposure to the elements limits year-round use
- Less defined space within the garden
- Reduced sense of permanence or architectural presence
While simple, these spaces can still be highly effective when carefully positioned and styled.
Oak Frame Pergolas
For those looking to take a step further, an oak-frame pergola offers structure, presence and versatility without fully enclosing the space. A pergola defines an area within the garden, creating a natural focal point for dining, lounging or entertaining. It introduces a sense of scale and craftsmanship while maintaining an open connection to the outdoors.
Pergolas can be enhanced with:
- Climbing plants and greenery
- Integrated lighting
- Outdoor kitchens or dining areas
- Hot tubs or seating zones
They are often one of the most effective ways of building an outdoor living space that feels considered without requiring the investment of a fully enclosed structure.
Partially Closed Outdoor Living Space Ideas
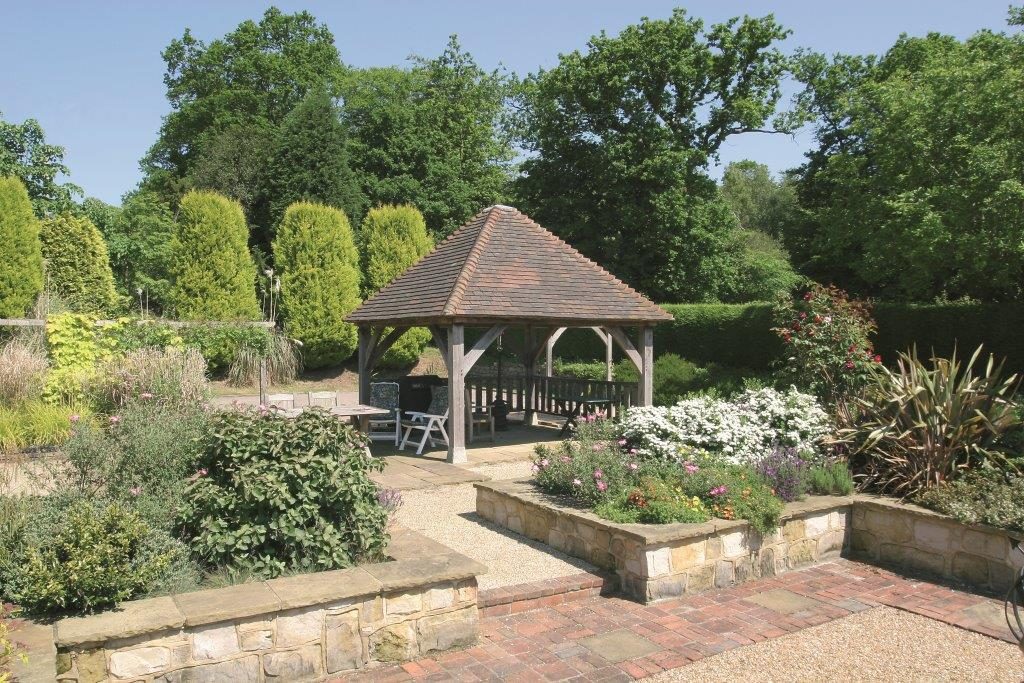
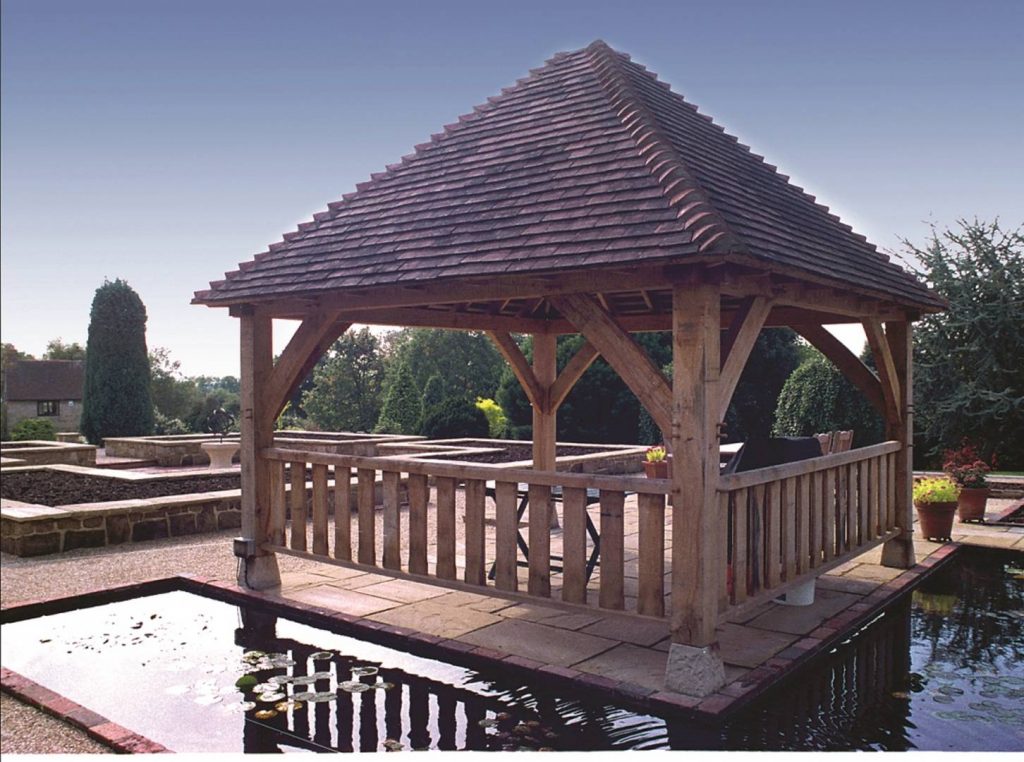
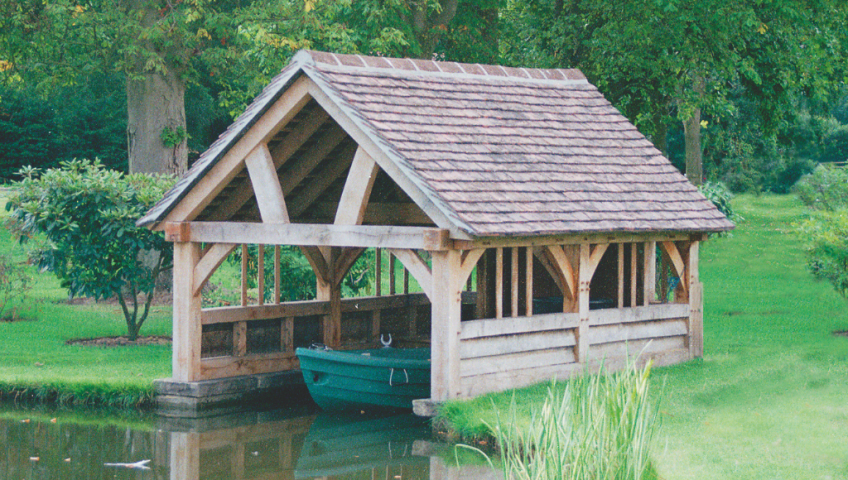
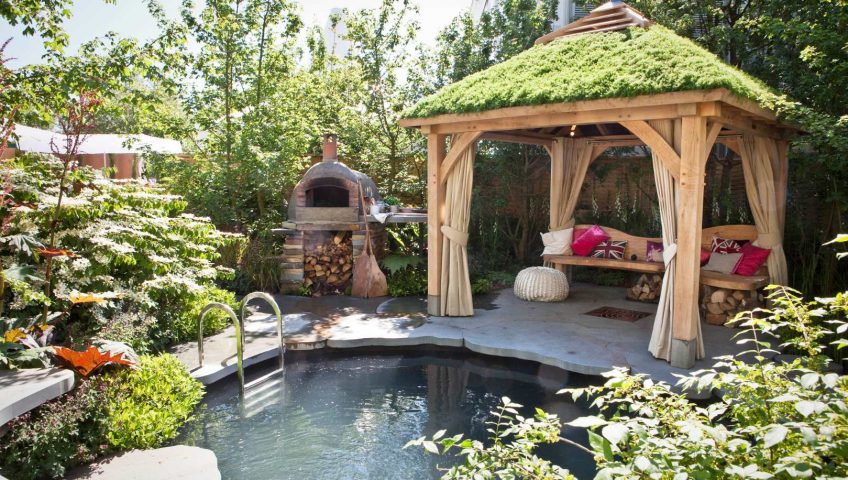
Oak Gazebos

Gazebos offer a balance between openness and protection, making them ideal covered outdoor living spaces. With a solid roof and open or partially enclosed sides, they provide shelter from the weather while maintaining a strong connection to the garden. This makes them particularly well-suited for outdoor dining, entertaining or simply enjoying the space in comfort.
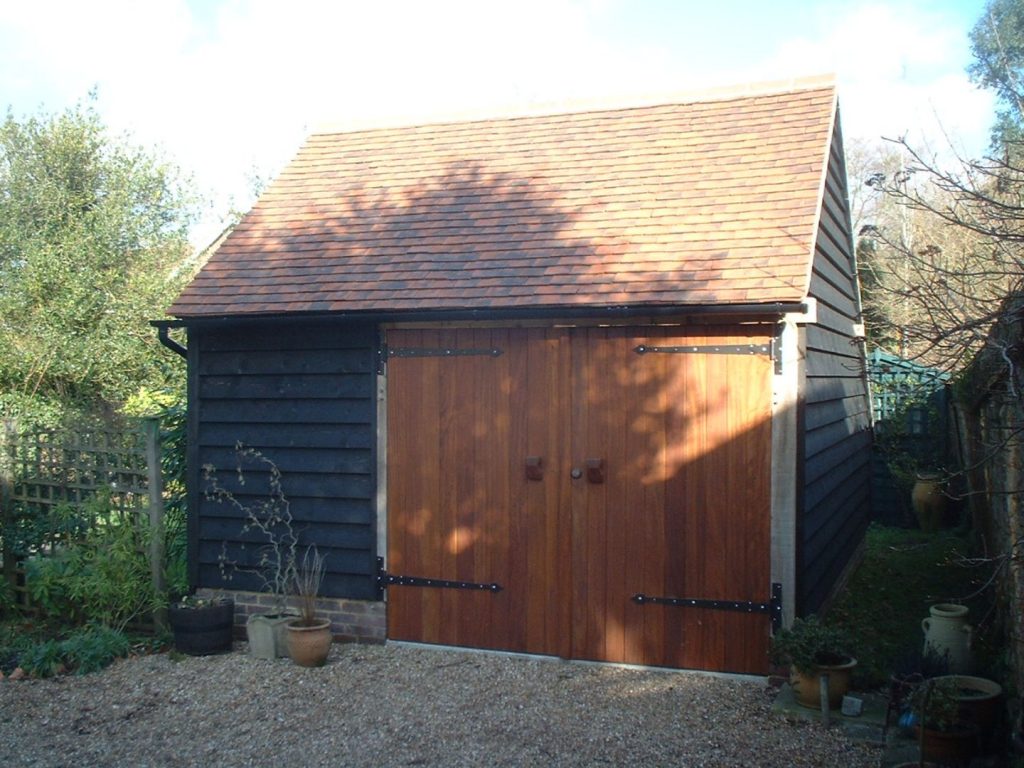
Carport Outdoor Living Spaces
A bespoke oak carport can be more than a functional addition. It can also be a flexible outdoor living space.
Designed thoughtfully, a carport can double as:
- A sheltered bar or entertaining area
- A covered dining space
- A multi-use zone for hobbies or leisure
This approach allows you to maximise the value of a single structure, particularly where space or budget requires careful consideration.
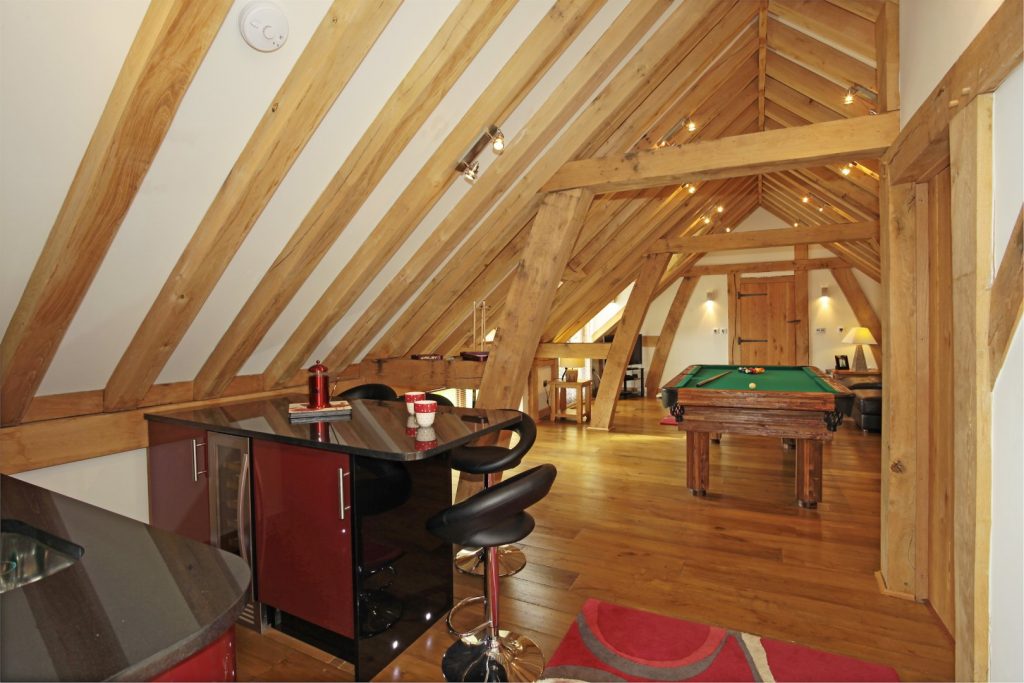
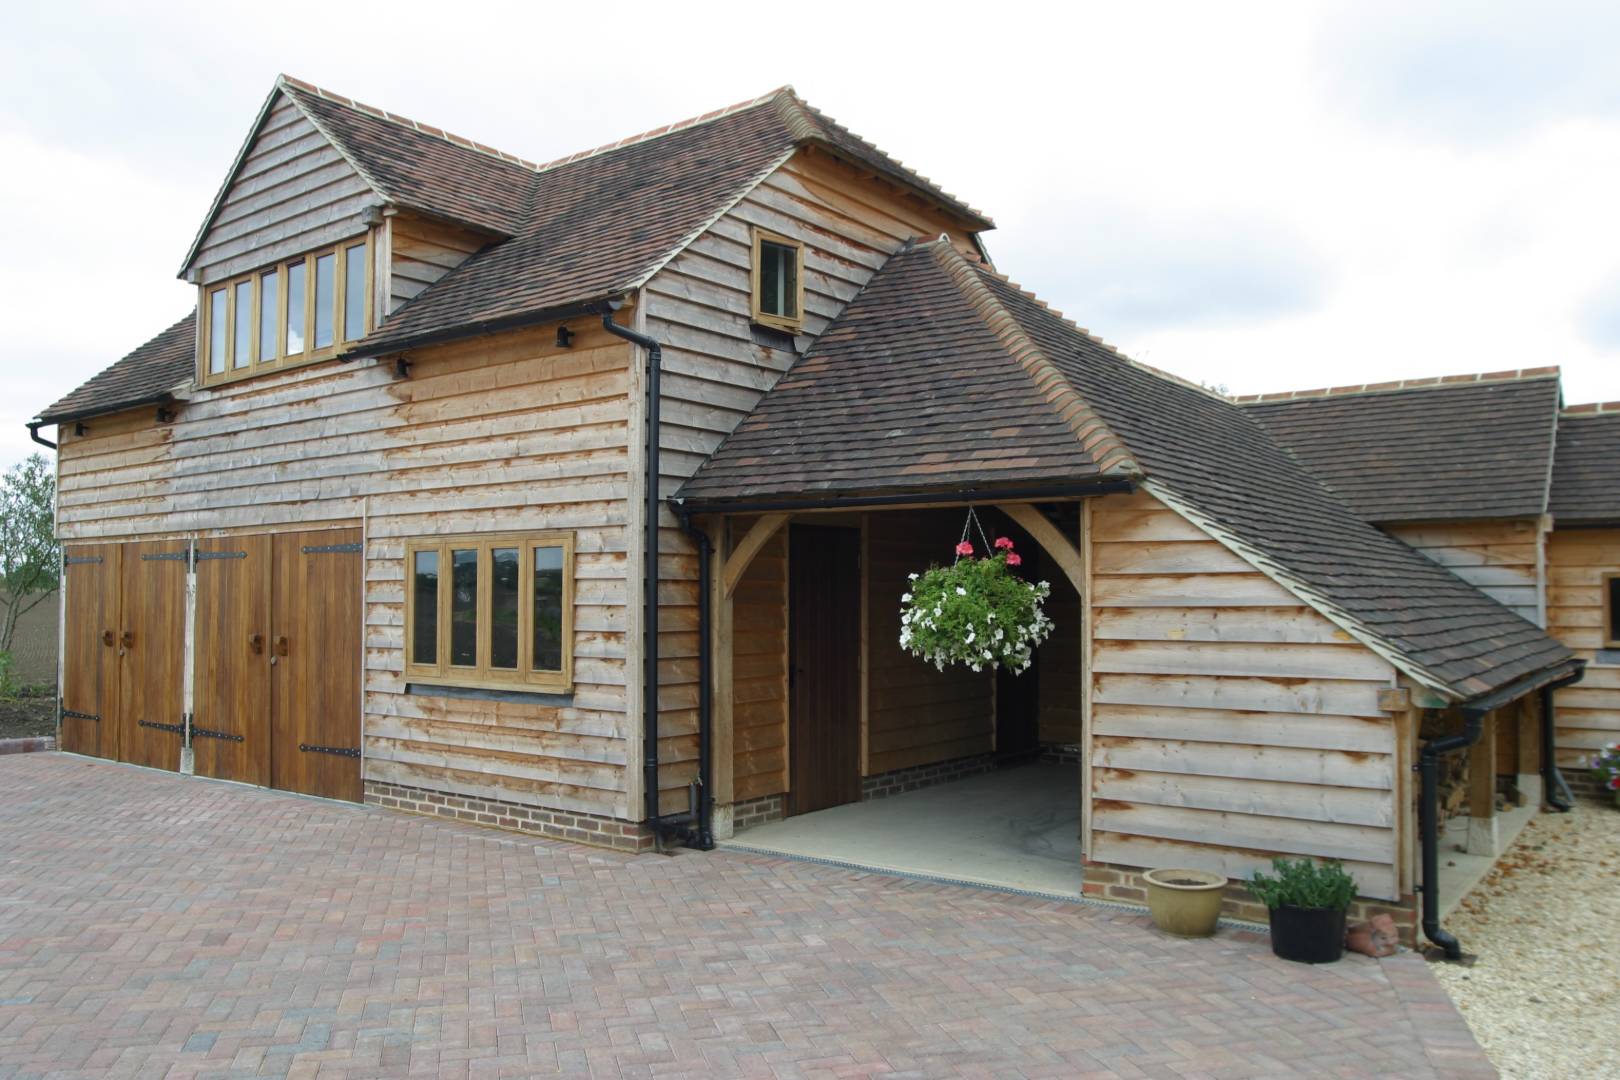
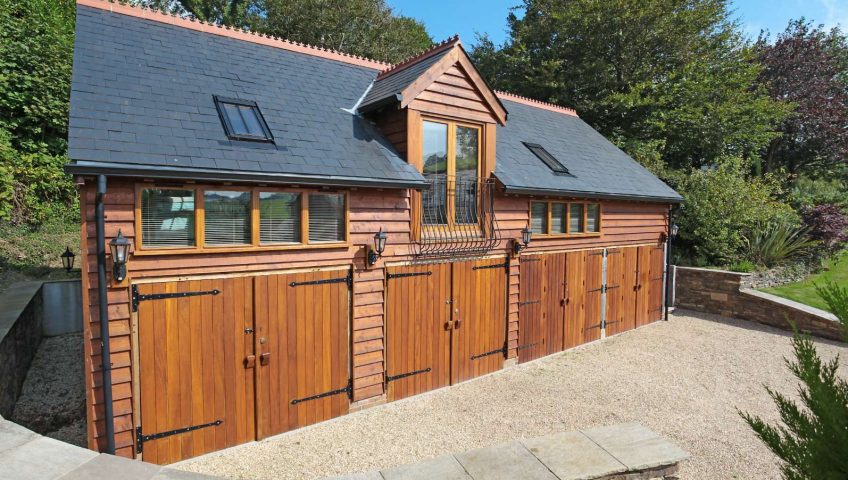
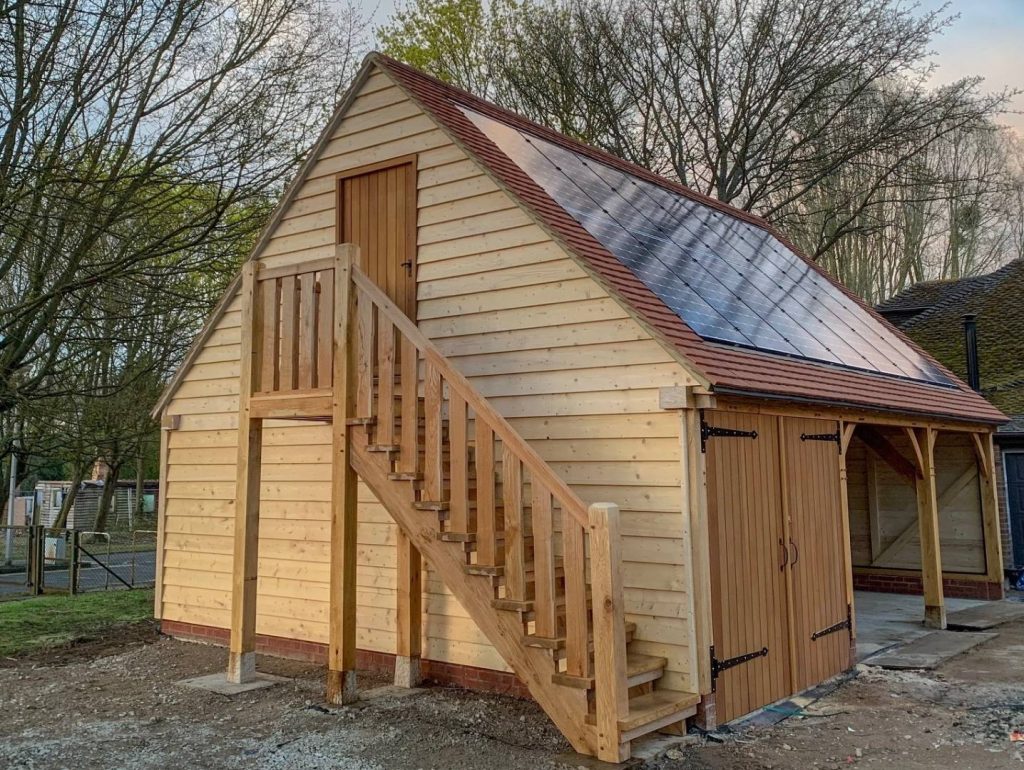
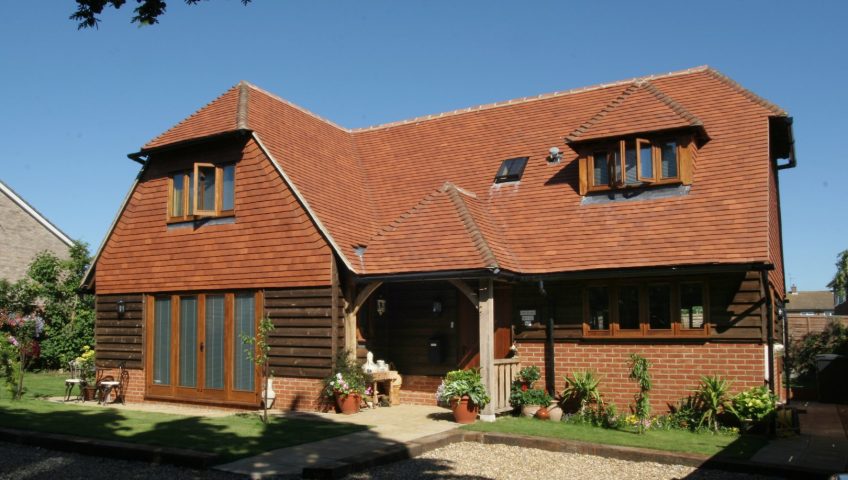
Designing Garages with Lifestyle in Mind
Similarly, when building an oak-framed garage, it is worth considering how the space may be used beyond vehicle storage. Incorporating additional bays, upper floors or adjacent covered areas can create opportunities for:
- Workshops or hobby spaces
- Storage combined with leisure use
- Entertaining or social areas
Rather than retrofitting a structure later, designing with flexibility from the outset ensures your building can evolve with your needs.
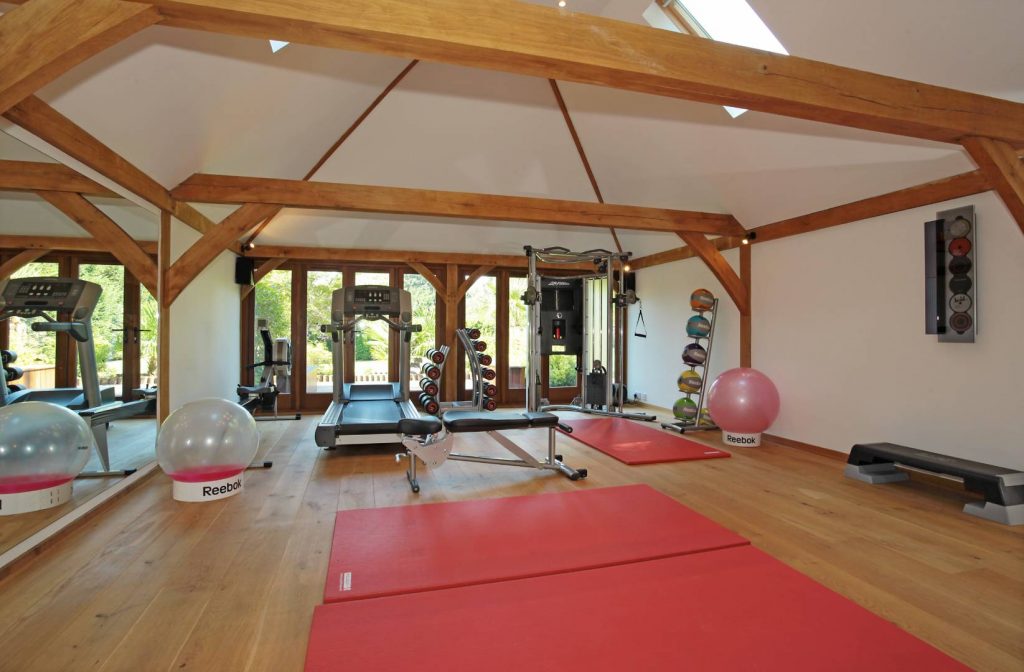
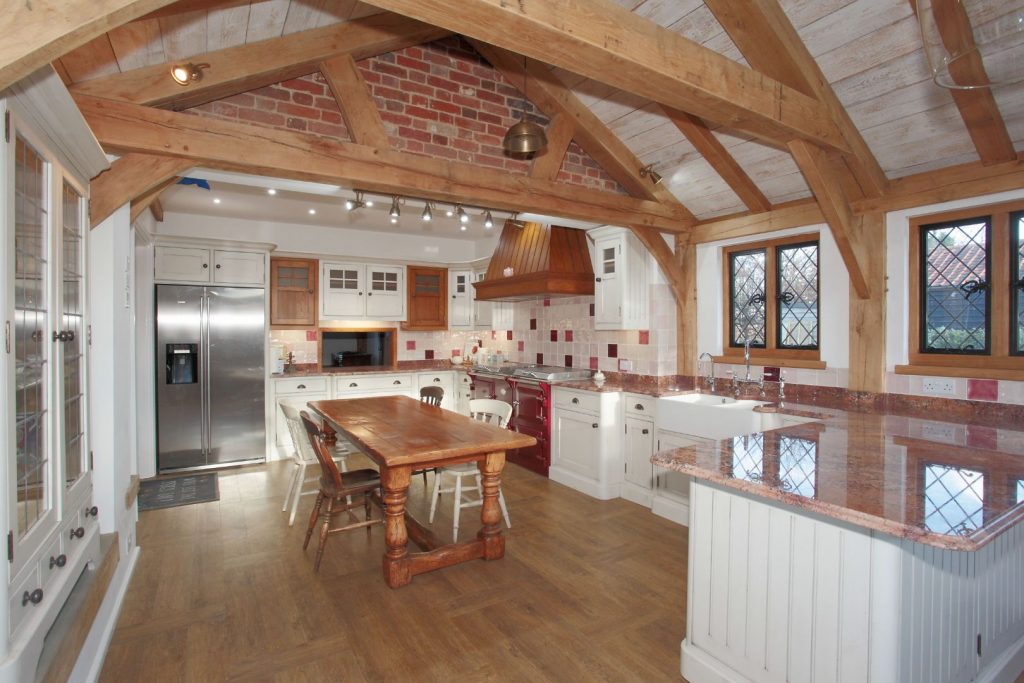
Fully Enclosed Outdoor Living Space Ideas

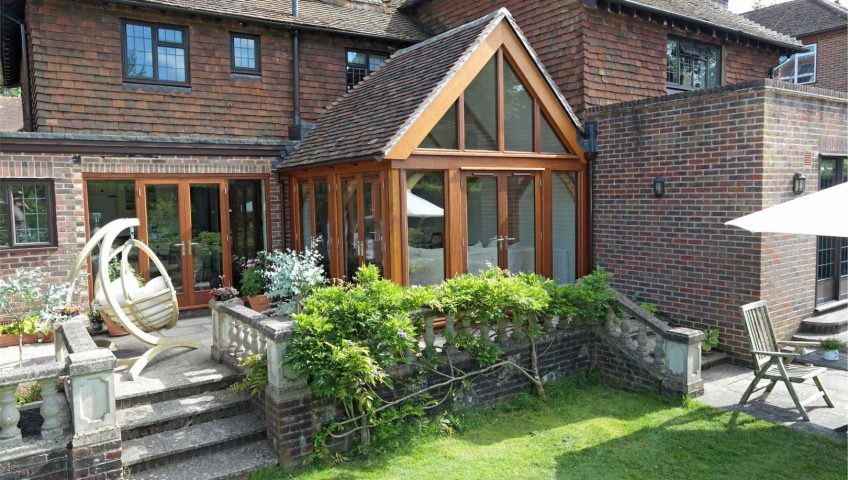
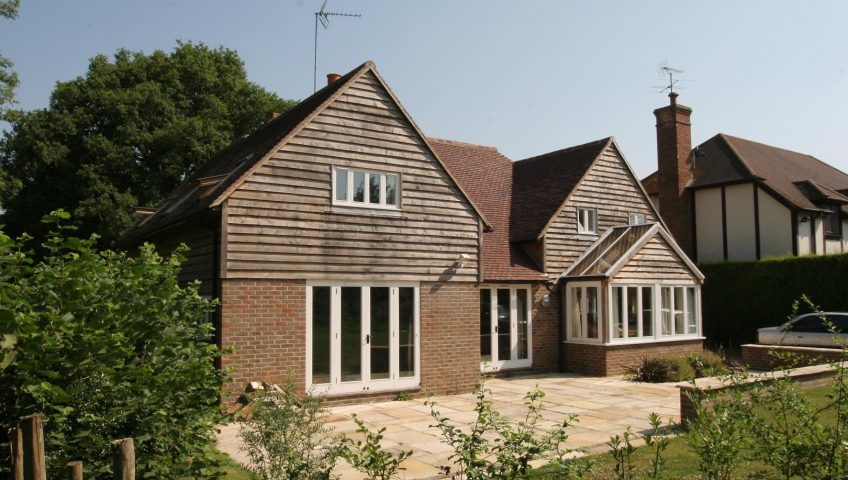
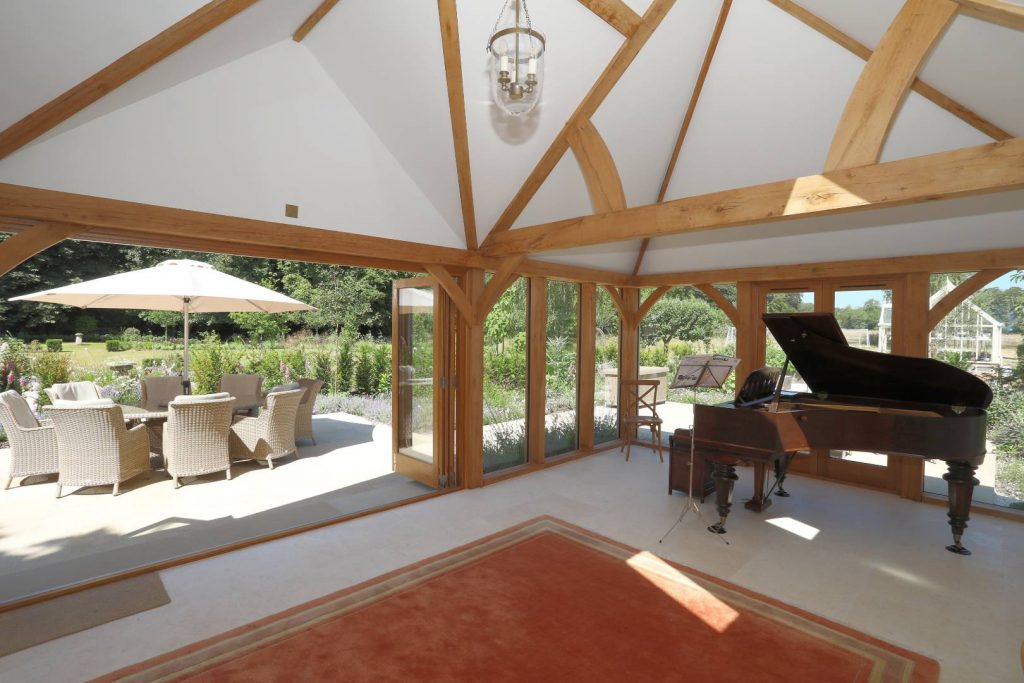
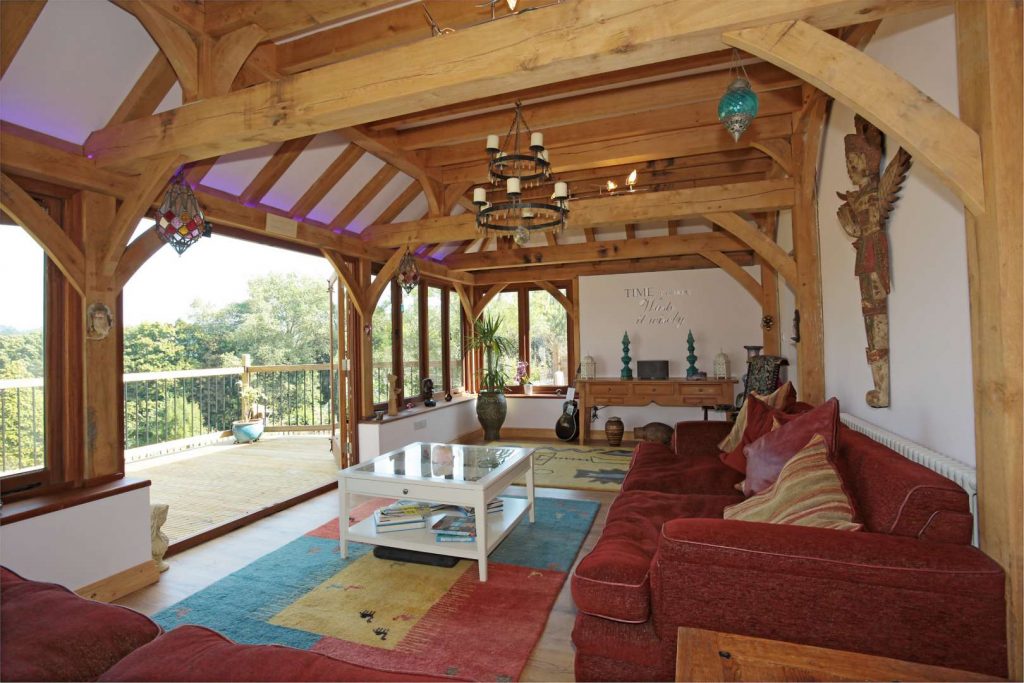
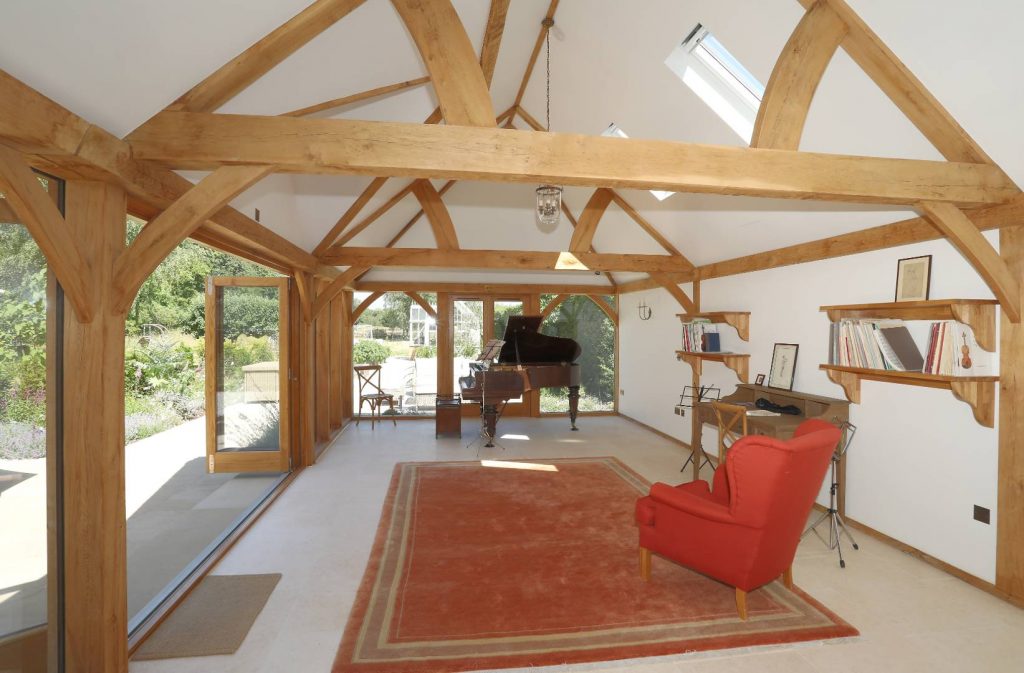
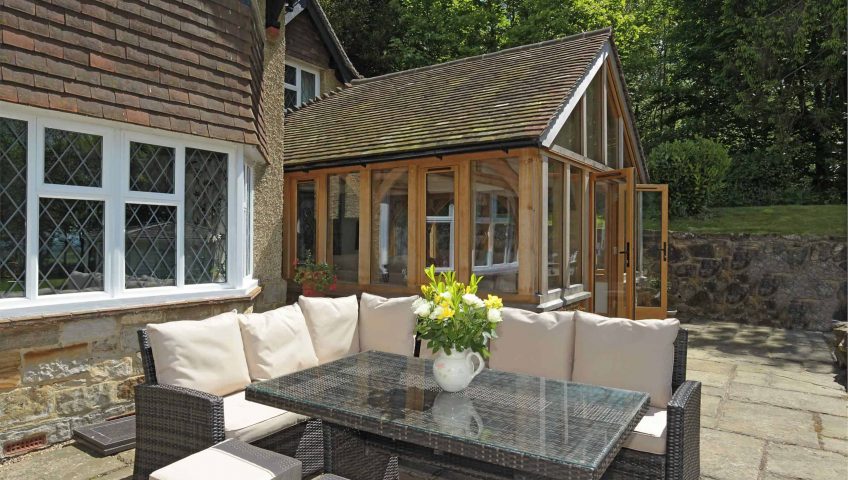
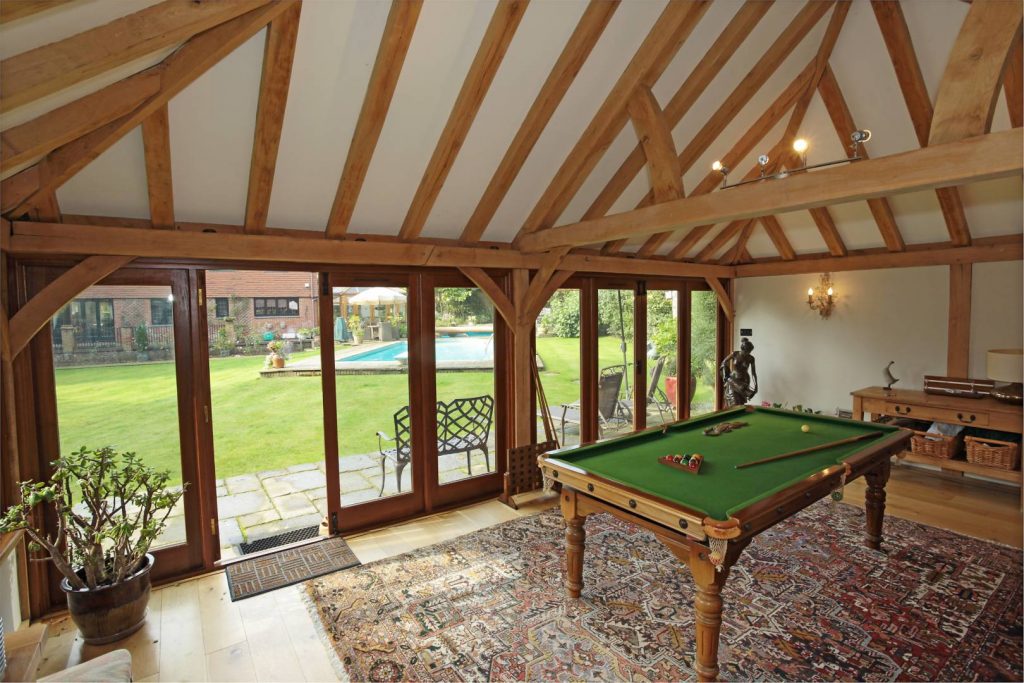
Oak Garden Rooms
For those seeking a truly versatile, year-round solution, an oak-framed garden room represents the most complete outdoor living space. Blending seamlessly with the garden while offering the comfort of an interior space, garden rooms can be designed for a wide range of uses:
- Dining and entertaining
- Home offices or studios
- Relaxation spaces
- Hobby or leisure rooms
With generous glazing, natural light and a strong connection to the outdoors, these spaces provide the best of both worlds and become an extension of how you live.
How Much Value Does an Outdoor Living Space Add?
A common question when building an outdoor living space is how much value it will add. However, there is no single figure, as this depends on several factors:
- The quality of design and materials
- The usability and versatility of the space
- How well it complements the existing property
- Compliance with planning and building regulations
This being said, a well-designed oak-framed structure can significantly enhance both lifestyle value and property appeal.
More importantly, it creates a space that adds daily enjoyment, which is something that cannot always be measured in financial terms alone.
How English Heritage Buildings Can Help You in Your Design
Designing and building an outdoor living space is a considered process. It requires expertise, attention to detail and an understanding of both traditional craftsmanship and modern requirements.
English Heritage Buildings brings over 30 years of experience to every project, combining time-honoured techniques with precision engineering to create bespoke frames that will become lasting outdoor living spaces.
Working with English Heritage Buildings means:
- A fully bespoke design tailored to your property and needs
- BM TRADA Q-Mark certified quality, meeting the highest industry standards
- Expert timber grading and precision manufacturing
- Clear, reliable pricing from the outset
- Support with planning drawings and guidance where required
- The opportunity to visit our Sussex workshop and see the craftsmanship first-hand
Every structure is designed not just to function, but to endure and to become part of your home’s story.
Design Your Dream Outdoor Living Space
Whether you are exploring modern ideas within budget, planning a covered living space for year-round use, or looking to create something entirely bespoke, the right design begins with a conversation.
Explore the possibilities, refine your ideas and take the first step towards a space that feels both beautifully crafted and entirely your own. Speak to the English Heritage Buildings team today to begin designing your new outdoor living space in oak. Alternatively, request a copy of our brochure to explore our work at your leisure.